iPhone
How to Replace iPhone Back Glass
Difficulty: Hard
Time: 45–90 min Our repairs: 90-day warranty
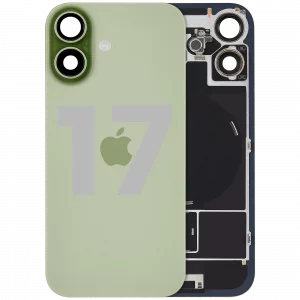
Shattered the back of your iPhone? Replacing the back glass restores the look and protects the internals and the wireless-charging coil. It’s one of the more involved DIY repairs — lots of heat and careful prying — so this guide focuses on doing it safely without cracking the frame or damaging the cameras.
Before you start:
- Back-glass jobs involve a lot of heat and prying — wear eye protection.
- Avoid the wireless-charging coil and rear camera with heat and tools.
- Removing broken glass is the hard part; go slowly to protect the frame.
What you'll need
- The replacement partshop parts — for your exact model
- iOpener Heat Kitwe stock it
- Opening Picks (6-pack)we stock it
- Anti-Static Metal Pry Barwe stock it
- Precision Spudger & Opening Toolwe stock it
- Shop all repair tools →
Choosing your part: On many phones the back glass is bonded under strong adhesive (and over wireless-charging coils). A pre-cut OEM/high-grade back glass with the camera ring saves a lot of grief.
Step-by-step
- 1 Heat the backApply sustained, even heat to soften the adhesive holding the back glass.
- 2 Lift & separateUse a suction cup or pry tool to create a gap, then work picks around to cut the adhesive. Broken glass may need patient chipping.
- 3 Clean & prepScrape off old adhesive, transfer the camera ring/lens if needed, and dry-fit the new back glass.
- 4 Bond the new glassApply fresh adhesive, align the new back glass (camera cutout first), and press evenly.
- 5 Cure & testClamp lightly while the adhesive cures, then test wireless charging and the rear cameras.
Not comfortable doing it yourself? We've got you. Mail it in from anywhere in the US, or book our New Haven shop (appointment preferred — call or text ahead). Most repairs are done same-day with a 90-day warranty.
Get a repair quote Mail-in repair