PlayStation 5
How to Fix a PS5 HDMI Port
Difficulty: Expert (soldering)
Time: 60–120 min Our repairs: 90-day warranty
No picture from your PS5, or a bent HDMI port? The HDMI connector is a micro-soldering repair — not a beginner job, but very doable with a hot-air station and patience. This guide outlines removing the damaged port and soldering in a new one cleanly. Not set up for board work? Our shop does this every week.
Before you start:
- This requires a hot-air station, flux and soldering skill — it is NOT a beginner repair.
- Discharge and unplug the console fully; capacitors hold charge.
- Overheating nearby pads will lift traces — practice on scrap first.
What you'll need
- The replacement partshop parts — for your exact model
- Precision Driver Kitwe stock it
- Precision Spudger & Opening Toolwe stock it
- ESD Tweezerswe stock it
- Adhesive Removal Bladeswe stock it
- Shop all repair tools →
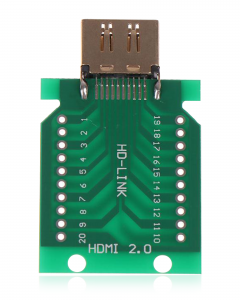
Choosing your part: A broken HDMI port is a micro-soldering job. Use a genuine replacement HDMI connector rated for your console — and if you're not confident with hot-air rework, let our shop do it.
Step-by-step
- 1 Open the consoleUnplug, discharge, and disassemble the console down to the mainboard following a teardown for your model.
- 2 Remove the old portFlux the HDMI port, use hot air to reflow, and lift the damaged connector cleanly without lifting pads.
- 3 Prep the padsClean the pads with braid and flux so the new connector seats flat.
- 4 Solder the new portAlign the new HDMI connector, tack two corners, then reflow all pins. Inspect for bridges under magnification.
- 5 Test the outputReassemble enough to power on and confirm clean video over HDMI before final reassembly.
Not comfortable doing it yourself? We've got you. Mail it in from anywhere in the US, or book our New Haven shop (appointment preferred — call or text ahead). Most repairs are done same-day with a 90-day warranty.
Get a repair quote Mail-in repair